Virtual background
Virtual Background enables users to blur their background or replace it with a solid color or an image. This feature is applicable to scenarios such as online conferences, online classes, and live streaming. It helps protect personal privacy and reduces audience distraction.
Virtual Background has the following features:
| Feature | Example |
|---|---|
| Blurred background and image background | |
| Video/Animated background | |
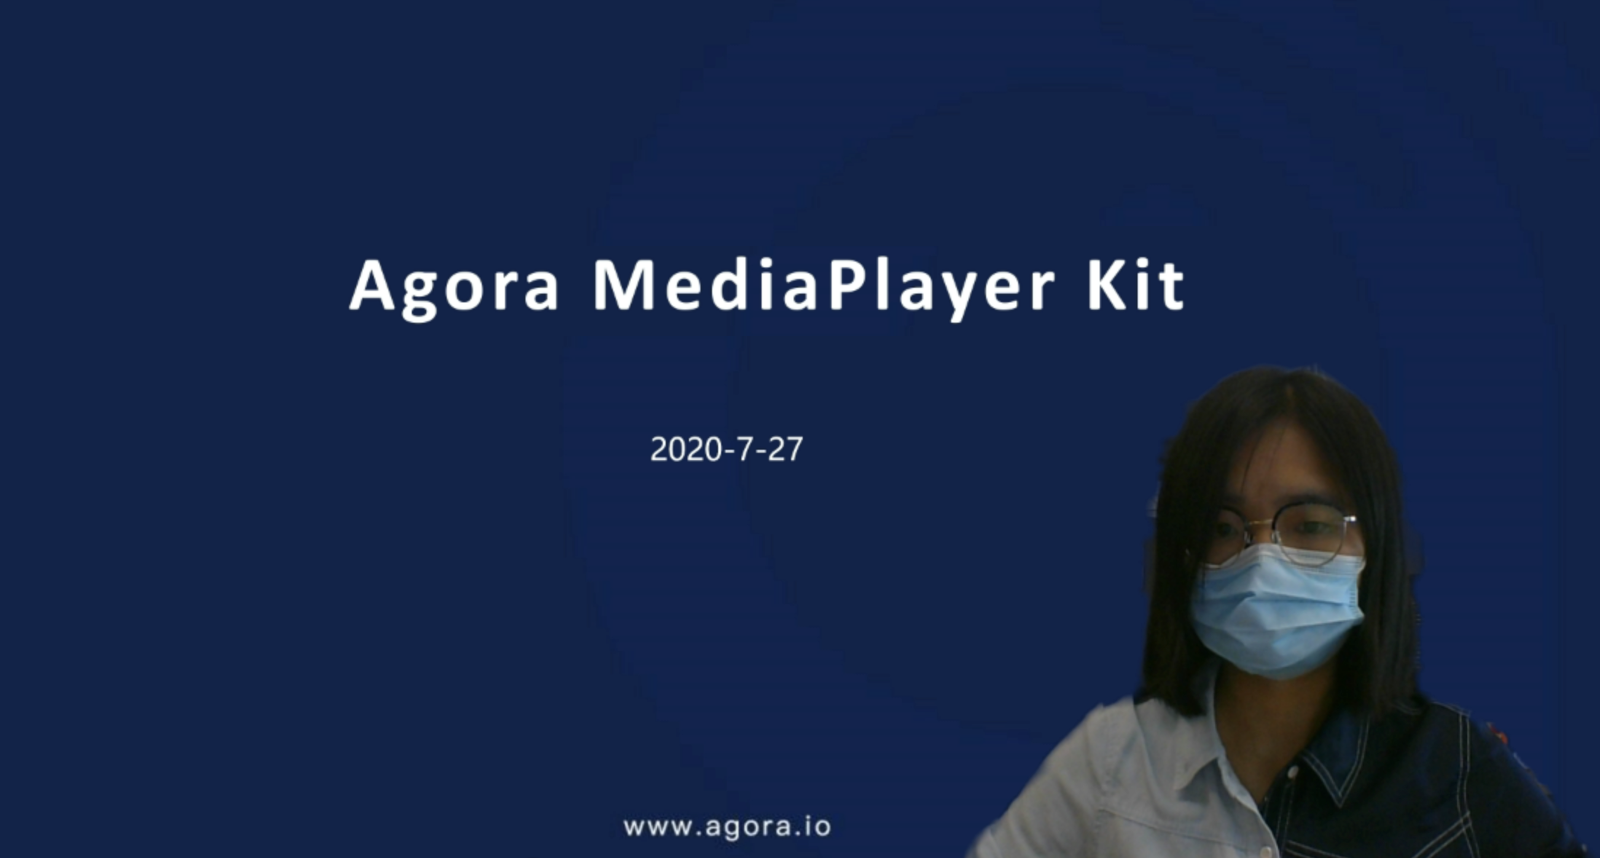
| Portrait-in-picture |  Allows the presenter to use slides as the virtual background while superimposing their video. The effect is similar to a weather news cast on television, preventing interruptions during a layout toggle. Allows the presenter to use slides as the virtual background while superimposing their video. The effect is similar to a weather news cast on television, preventing interruptions during a layout toggle. |
Want to test Virtual Background? Try the online demo.
Understand the tech
A typical transmission pipeline in the Agora Web SDK consists of a chain of procedures, including capture, preprocessing, encoding, transmitting, decoding, post-processing, and playback. In the preprocessing stage, extensions can modify the audio and video data in the pipeline to implement features such as virtual background and noise cancellation.
Project setup
To create the environment necessary to implement virtual background into your app, open the project you created in SDK quickstart for Broadcast Streaming.
Implement virtual background
This section explains how to enable your users to choose a virtual background.
Implement the user interface
To enable and change virtual backgrounds, you add a button to the user interface. To do this, open /app/res/layout/activity_main.xml and add the following lines before </RelativeLayout>:
Set a virtual background
-
Import the required Agora libraries
Add the following statements after the last
importstatement in/app/java/com.example.<projectname>/MainActivity. -
Define variables to keep track of the virtual background state
In the
MainActivityclass, add the following declarations: -
Enable virtual background
When a user presses the button, you call
enableVirtualBackgroundto enable background blur. When the user presses the button again, you change the virtual background to a solid color. On the next button press, you set a.jpgor.pngimage as the virtual background. To specify these background effects, you configurevirtualBackgroundSourceandSegmentationProperty. To do this, add the following method to theMainActivityclass:
Test your implementation
-
Generate a temporary token in Agora Console .
-
In your browser, navigate to the Agora web demo and update App ID, Channel, and Token with the values for your temporary token, then click Join.
-
In Android Studio, open
app/java/com.example.<projectname>/MainActivity, and updateappId,channelNameandtokenwith the values for your temporary token. -
Connect a physical Android device to your development device.
-
In
setVirtualBackgroundmodify the value ofvirtualBackgroundSource.sourceto the absolute path of a.jpgor.pngimage file on your test device. -
In Android Studio, click Run app. A moment later you see the project installed on your device.
If this is the first time you run the project, grant microphone and camera access to your app.
-
Press Join to connect to the same channel as your web demo.
-
Press Set virtual background. The background is blurred in the local video of your test device and the remote video of the web demo. You see a message confirming that background blur has been enabled.
-
Press Set virtual background again. The background changes color to a solid blue. You see a message confirming that color background has been enabled.
-
Press the button again. You see an image in the background. You also see a message confirming that background image has been enabled.
-
Press the button again. Virtual background is disabled and the actual background is restored.
Reference
This section contains information that completes the information in this page, or points you to documentation that explains other aspects to this product. This section contains information that completes the information in this page, or points you to documentation that explains other aspects to this product.